# Teams Quickstart
Setting up a team is a simple process of creating a shared workspace, defining roles, and inviting your collaborators:
{% stepper %}
{% step %}
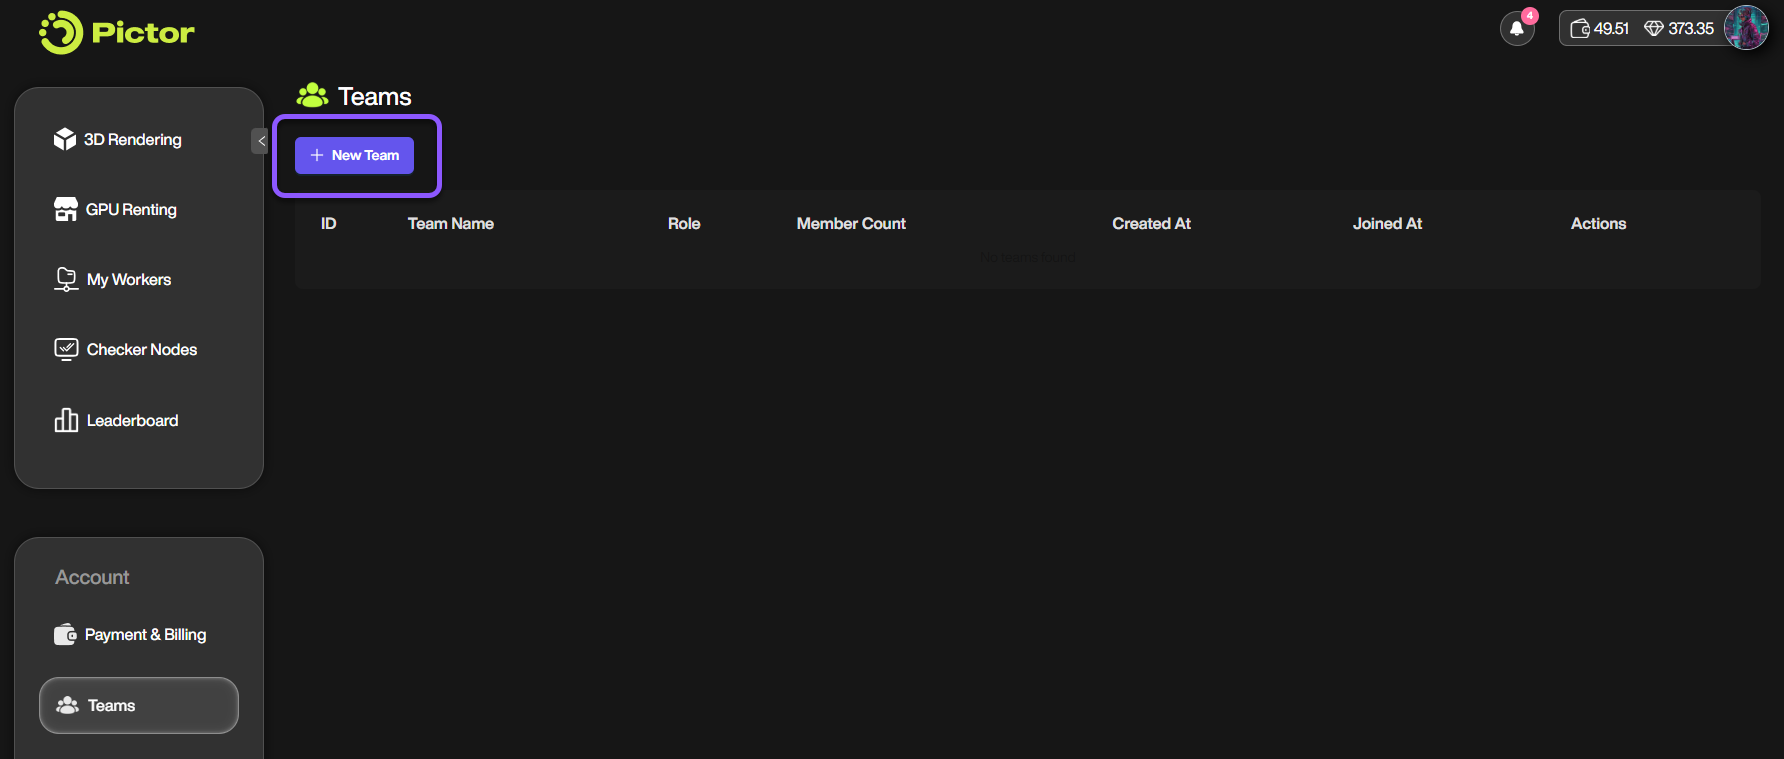
#### Create a Team
* Go to the [Teams](https://app.pictor.network/teams) page or your profile avatar in the Context Switcher and click on "`New Team`."
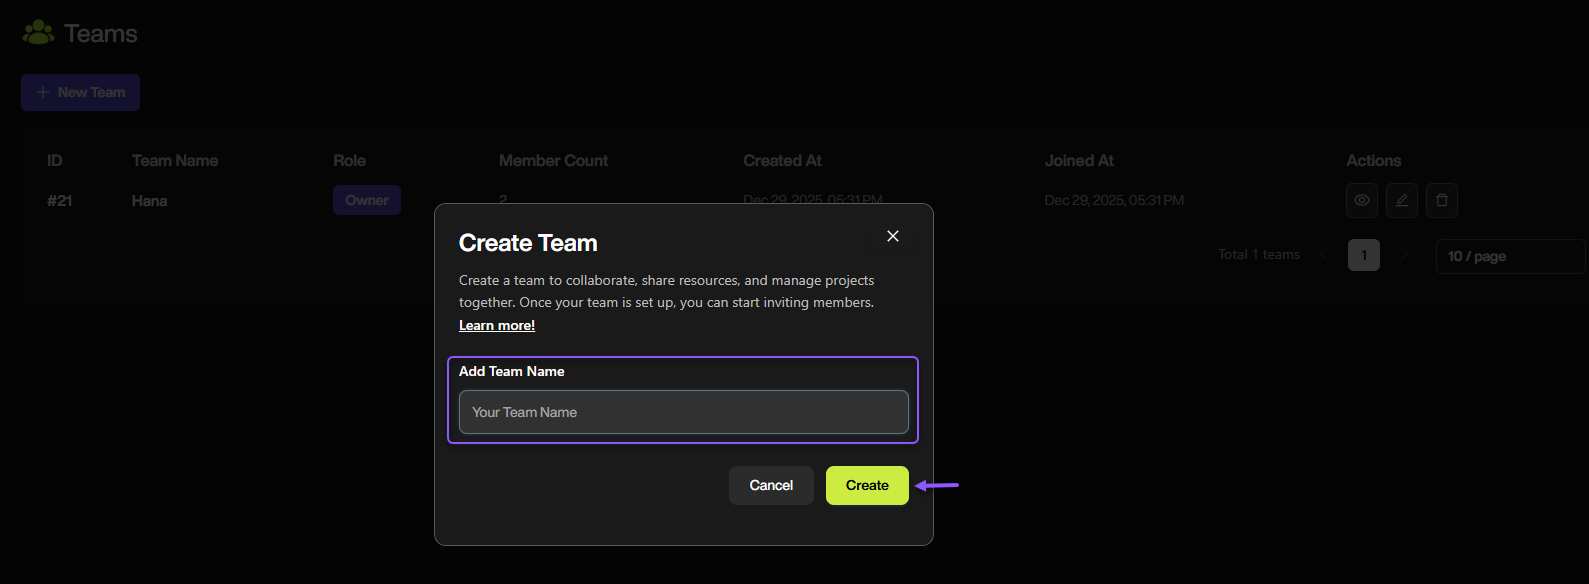
* Add your team name and click on "`Create`."
{% endstep %}
{% step %}
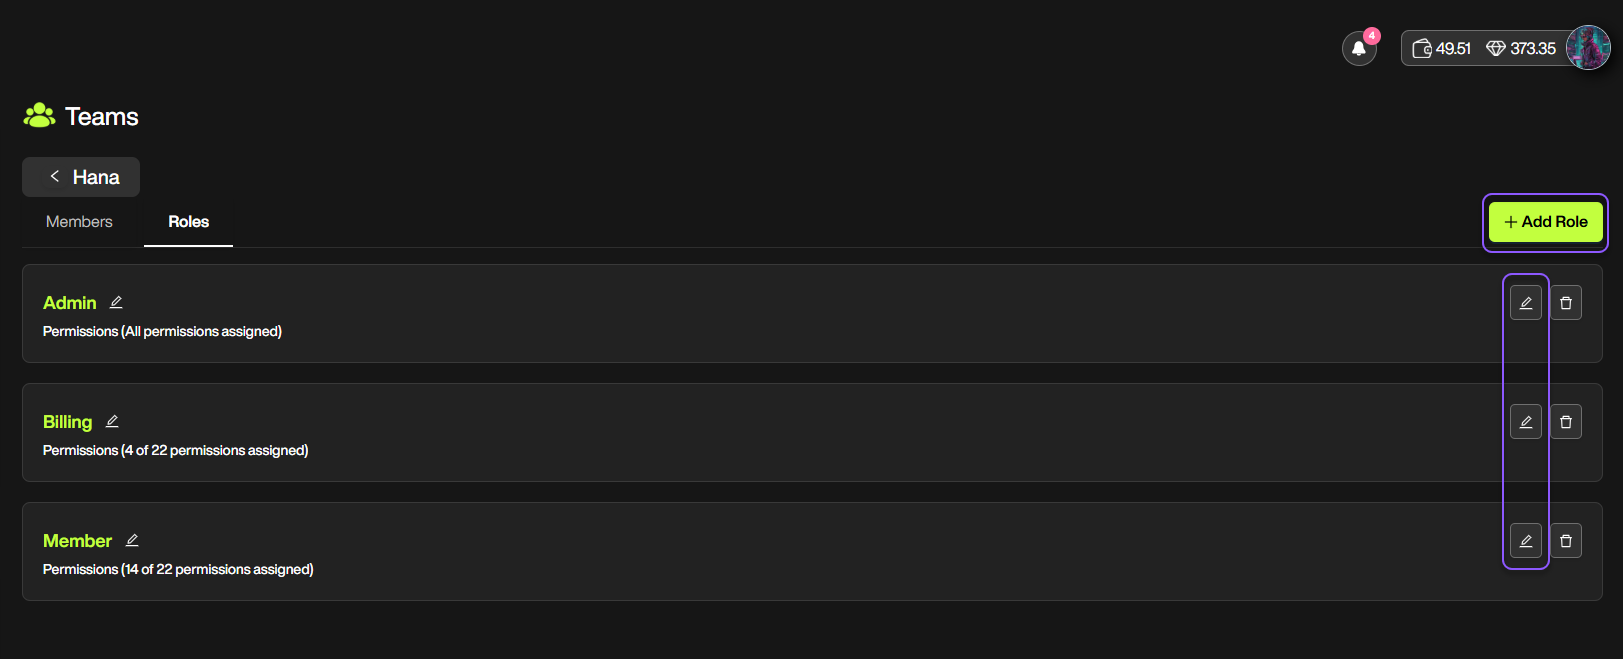
#### Manage Roles and Permissions
After creating your team, you will see three default roles in the "Roles" tab:
* **Admin**: Full control over the team.
* **Billing**: Manages payments and billings.
* **Member**: Focuses on using GPU renting and 3D rendering services.
You can rename these roles, change their permissions, or create entirely new roles to fit your needs.
Create new Roles and Edit Roles for your Team
{% endstep %}
{% step %}
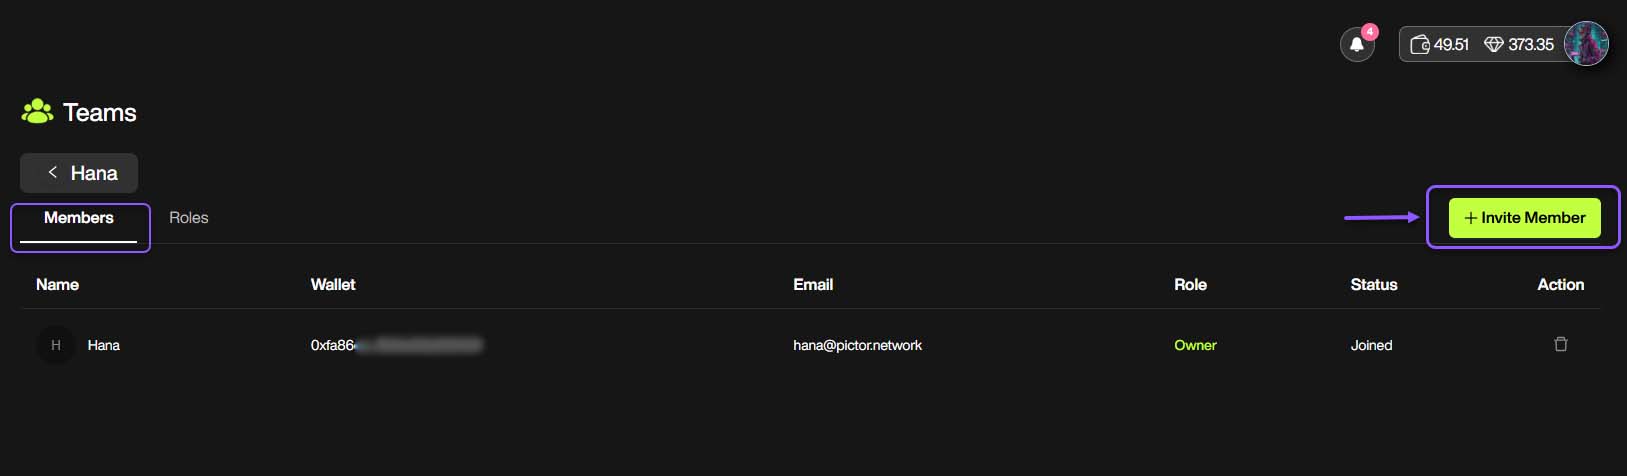
#### Invite Members
Invite members to join the team:
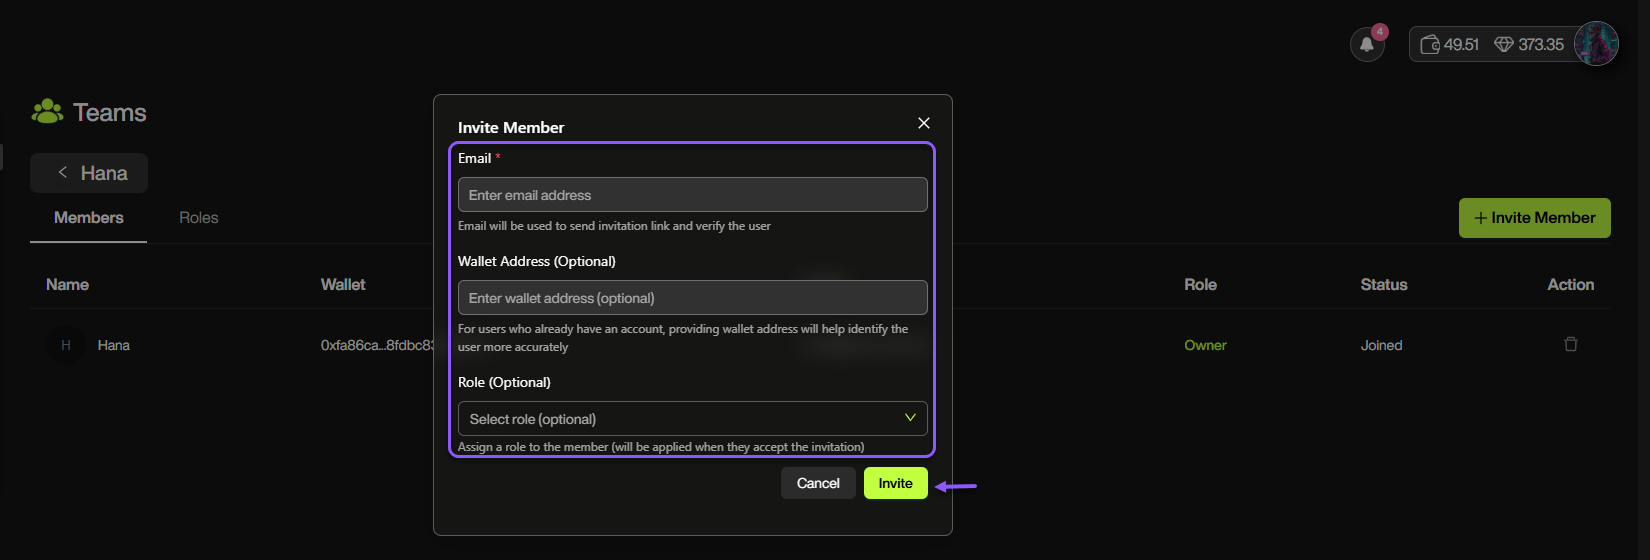
* Go to the "Members" tab, and click on `Invite Member`
* Enter your member's email, assign a role for him/her, and click on `Invite`
Invite a Member to join your Team via email
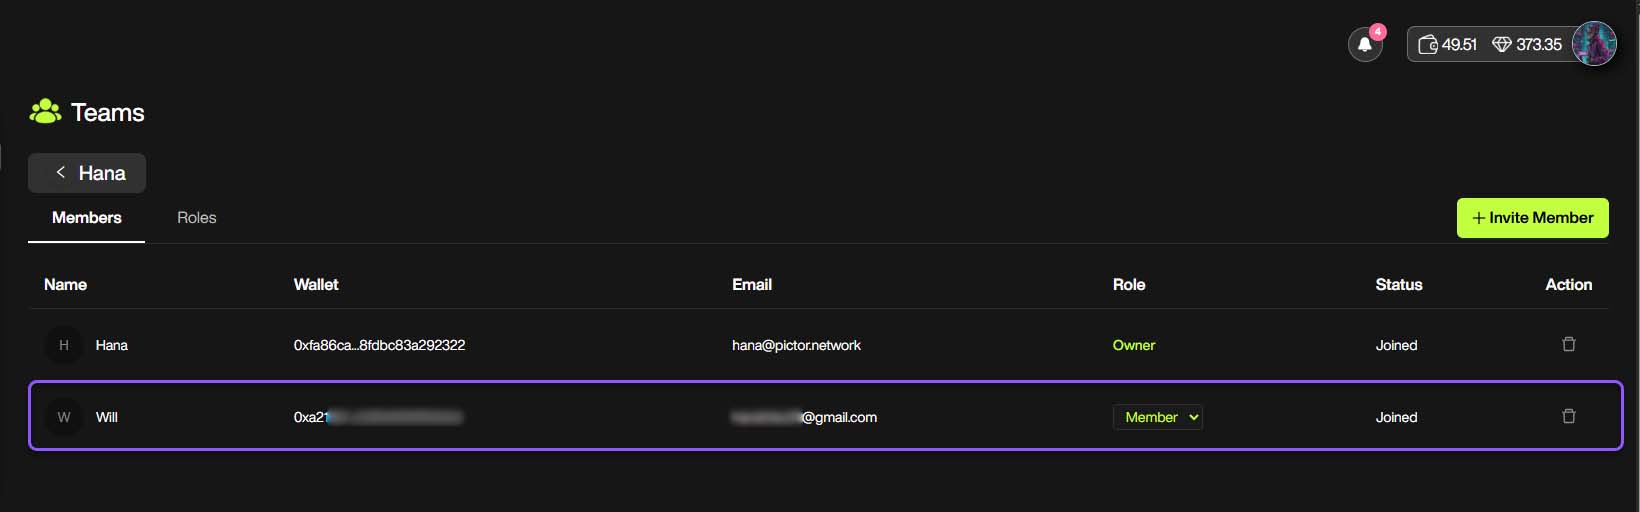
After sending the invitation, the member will receive an email asking them to join your team. Once they accept the invitation, they will be added as a member of your team.
You will then see them in your Team's Member list, and they can switch to the team account and start working together in your team workspace.
{% hint style="warning" %}
**Note:**
If the recipient of the invitation does not have a Pictor account, they will need to create one before being added to your Team.
{% endhint %}
{% endstep %}
{% endstepper %}
---
# Agent Instructions: Querying This Documentation
If you need additional information that is not directly available in this page, you can query the documentation dynamically by asking a question.
Perform an HTTP GET request on the current page URL with the `ask` query parameter:
```
GET https://docs.pictor.network/docs/reference/teams/teams-quickstart.md?ask=
```
The question should be specific, self-contained, and written in natural language.
The response will contain a direct answer to the question and relevant excerpts and sources from the documentation.
Use this mechanism when the answer is not explicitly present in the current page, you need clarification or additional context, or you want to retrieve related documentation sections.